Setting up your Affiliate/External Product

Step up your online store by adding affiliate/external products, giving customers more choices. These products link to other sites, expanding options beyond your store.
Before you begin
To set up your variable product, you must be:
• Store Manager of your online shop.
• Log in to your website with your store manager credentials.
Add an affiliate/external product
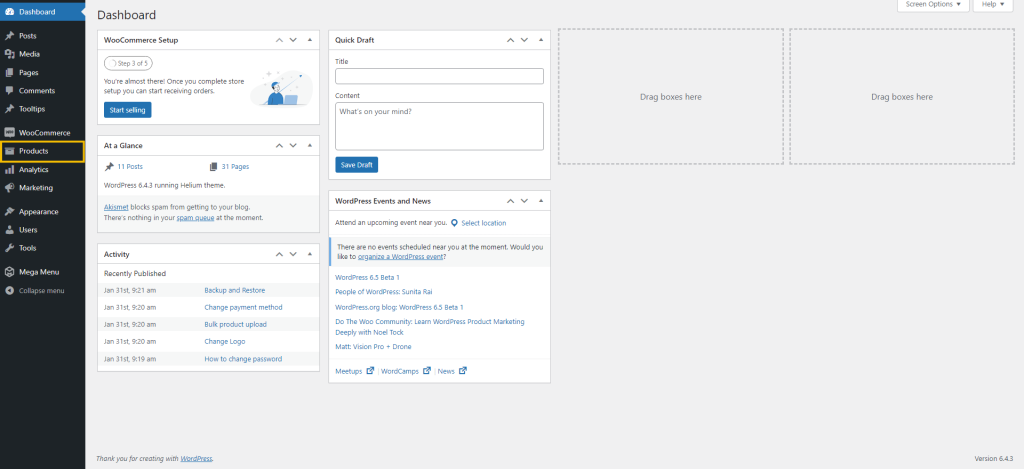
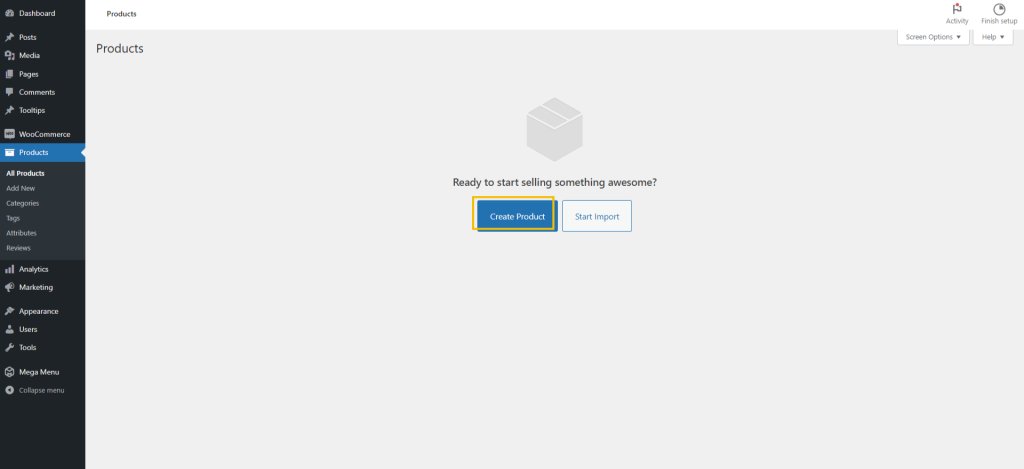
Go to the navigation bar, then click on ‘Products’.
After selecting the products menu, click on ‘Create products’.
To be able to create a product, follow the steps below:
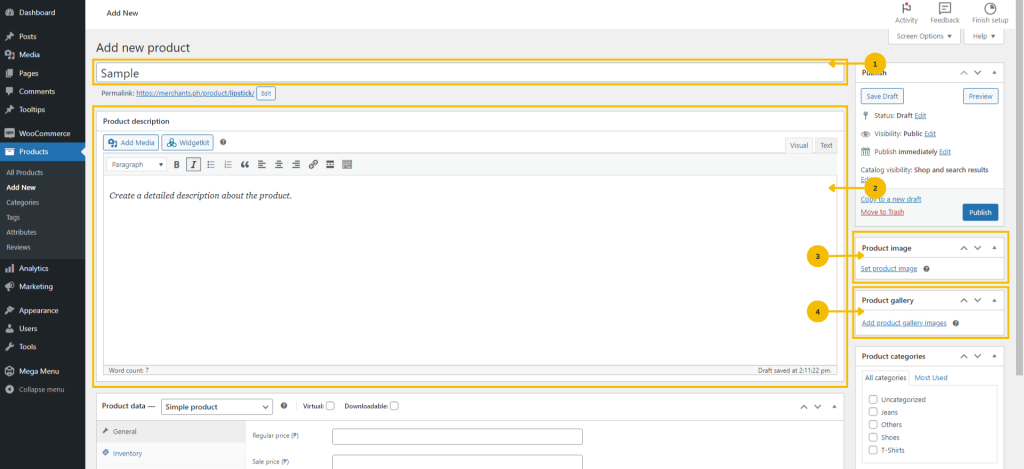
1. Enter the name of the product you want to sell.
2. Write a detailed description of the product.
3. Select the picture you like to get displayed in your online store.
4. Upload additional photos to the product gallery if you have any.
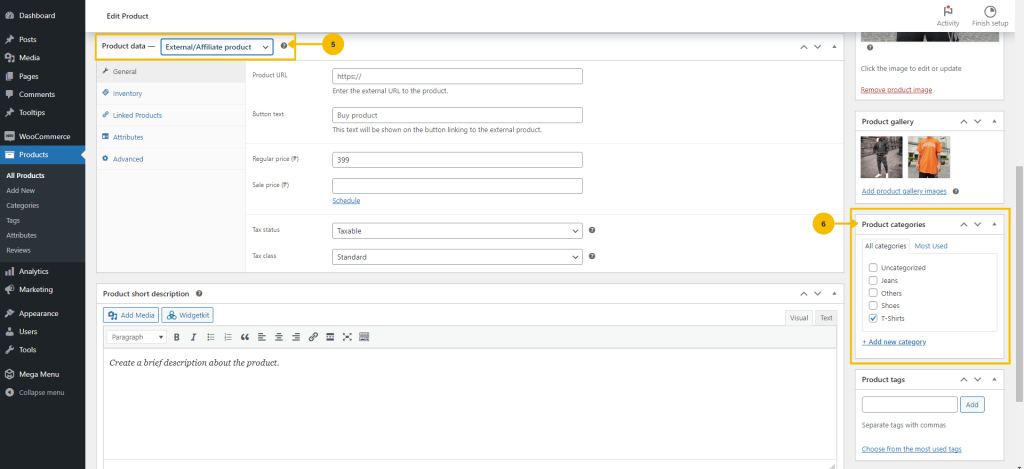
5. Click the drop-down menu and choose ‘External/Affiliate Product’.
6. Choose a category for your products, and if you want to create a new one, click ‘Add new category’.
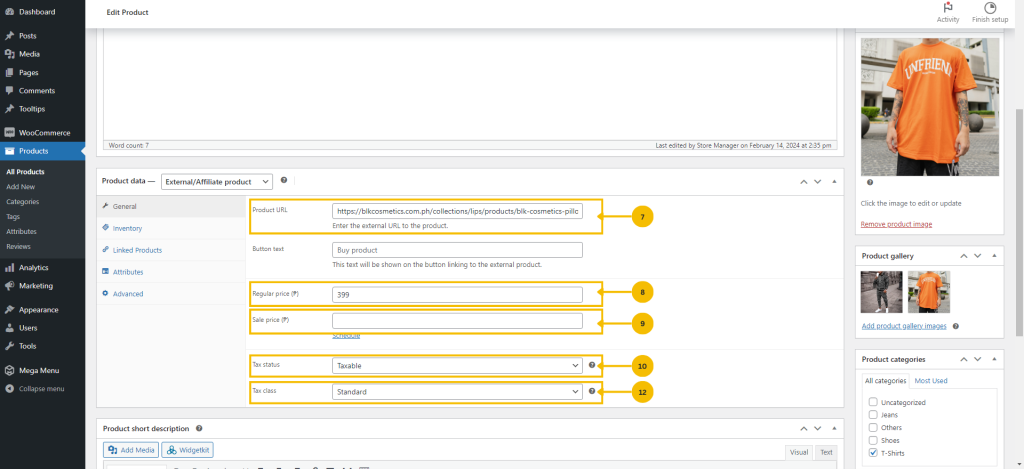
7. Enter or copy the ‘Product URL’ of your external product.
8. Enter the ‘regular price’ of your external product.
9. To put your external product on sale, simply enter the ‘sale price’ and ‘set the schedule’ for the start and end dates of the sale price of your product.
10. Click on the drop-down button and choose one of the options listed under ‘Tax status’.
11. Click on the drop-down button and select from the available choices under ‘Tax class’.
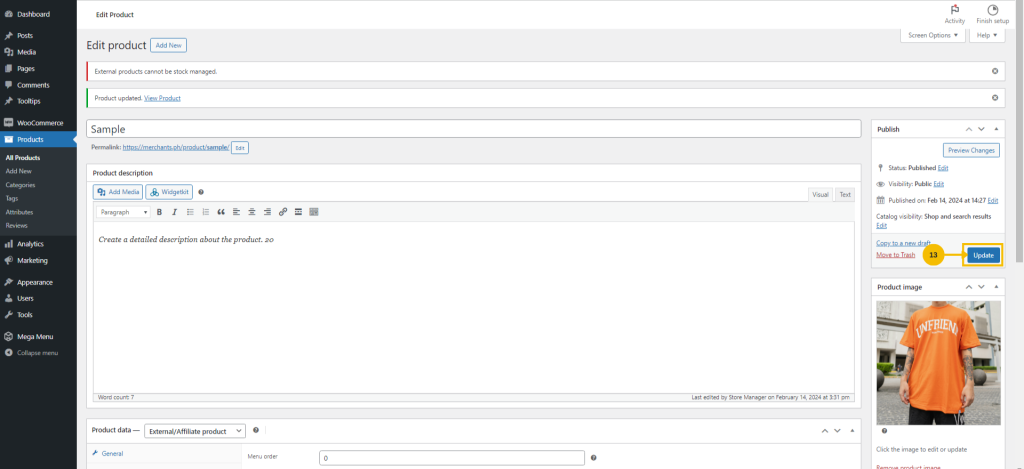
12. Click the ‘Publish‘ button to display your external product on your online store.