Setting up your Simple Product

Make your online store better with simple products. Just one size or color – easy choices for customers. It’s simple shopping, making it quick and stress-free for them to find what they want.
Before you begin
To set up your simple product, you must be:
• Store Manager of your online shop.
• Log in to your website with your store manager credentials.
Add simple product
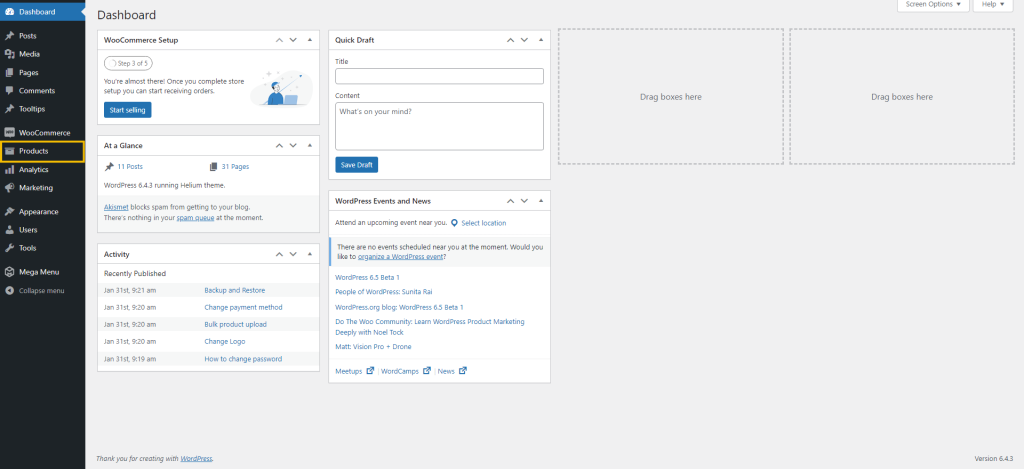
Go to the navigation bar, then click on ‘Products’.
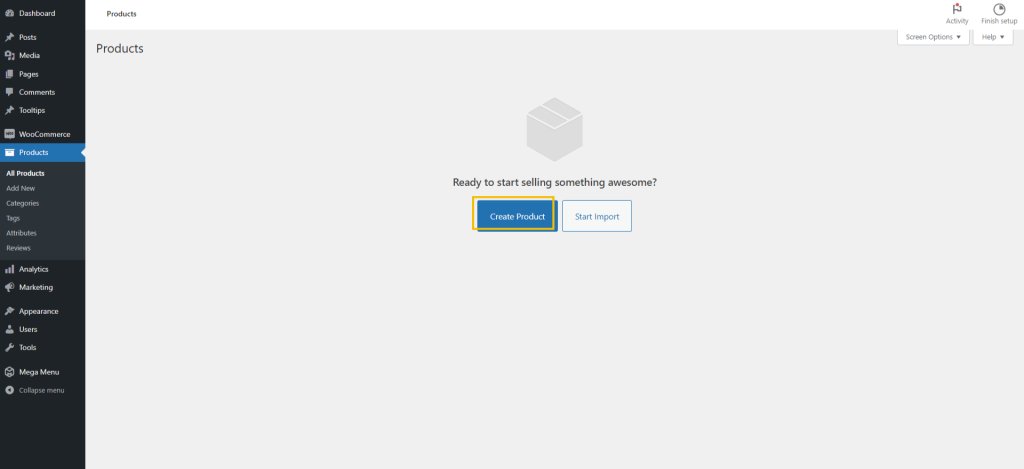
After selecting the products menu, click on ‘Create products’.
To be able to create a product, follow the steps below:
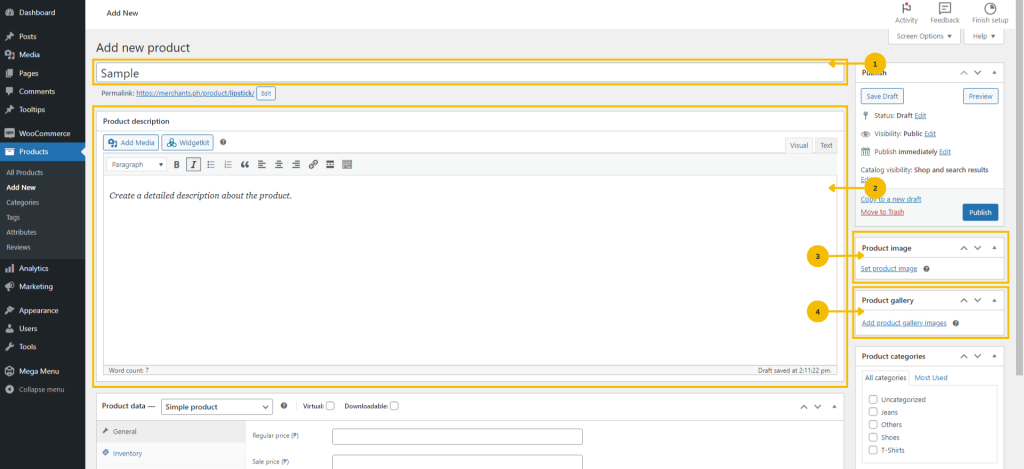
1. Enter the name of the product you want to sell.
2. Write a detailed description of the product.
3. Select the picture you like to get displayed in your online store.
4. Upload additional photos to the product gallery if you have any.
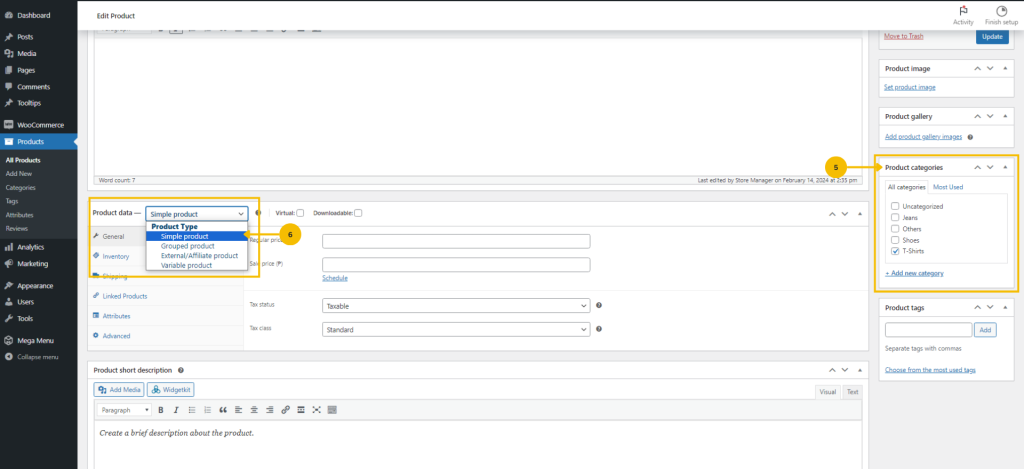
5. Choose a category for your products, and if you want to create a new one, click ‘Add new category’.
6. Click the drop-down menu and choose ‘Simple products’.
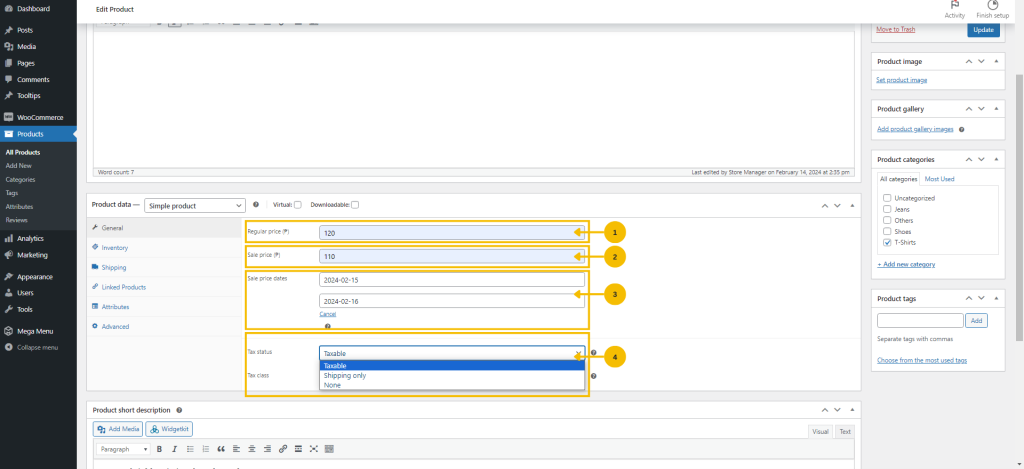
1. Enter the ‘Regular price’ of the product.
2. To put your product on sale, just enter the ‘Sale price’ in the designated section.
3. Set the ‘Sale price dates’ of the product by choosing the start and end dates.
4. Select from the available options by clicking on the drop-down button in ‘Tax class’.
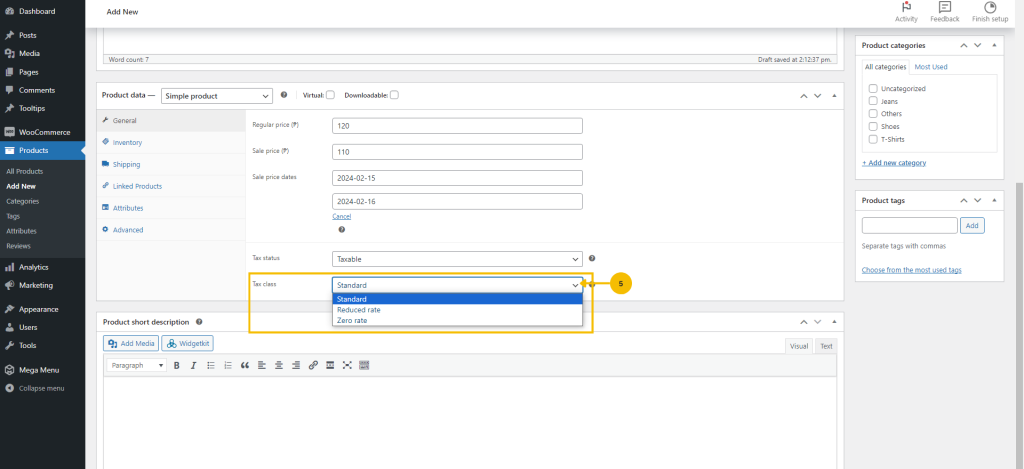
5. Select from the available options by clicking on the drop-down button in ‘Tax class’
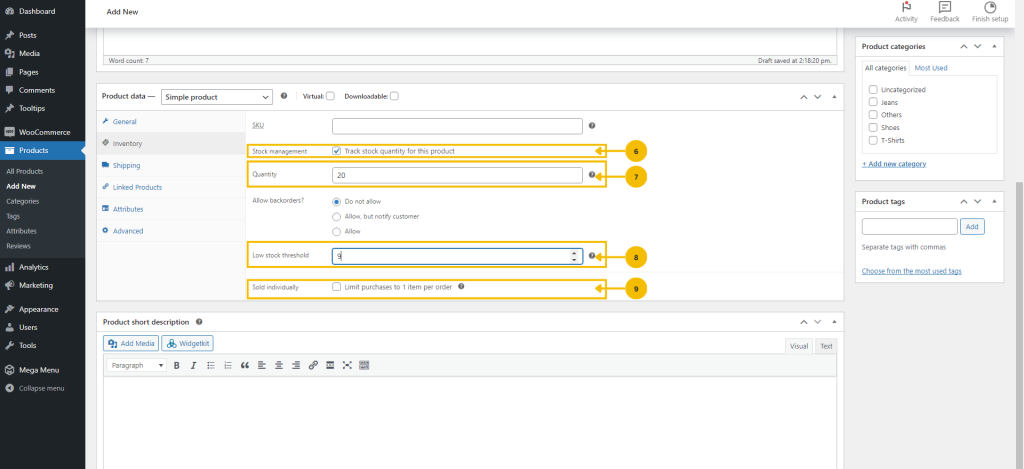
6. Manage your product’s stock by checking the box.
7. Enter the quantity available for your product.
8. Set a ‘Low stock threshold’ to get notified when your product is running low.
9. If you want to limit purchases to one item per order, check ‘Sold individually’.
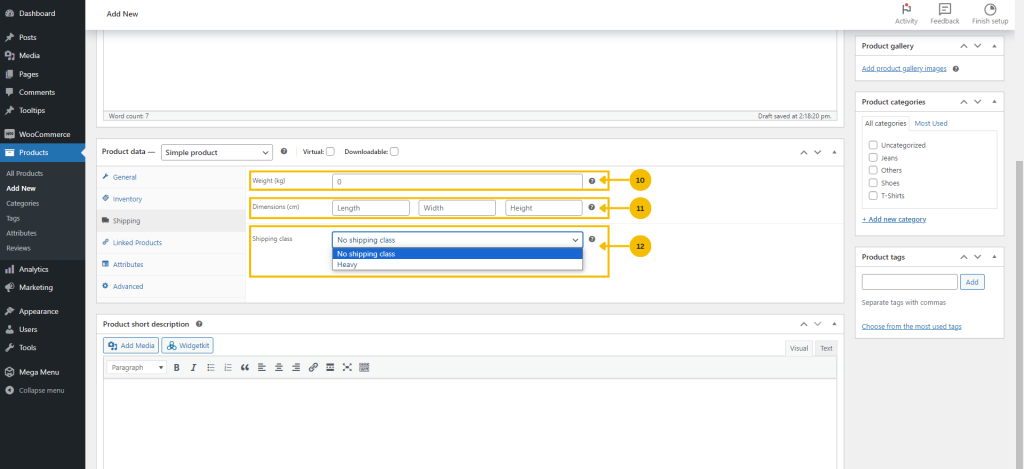
10. Specify your product’s weight to determine the appropriate shipping vehicle.
11. Enter your product’s dimensions if necessary.
12. You may also select a shipping class for your product.
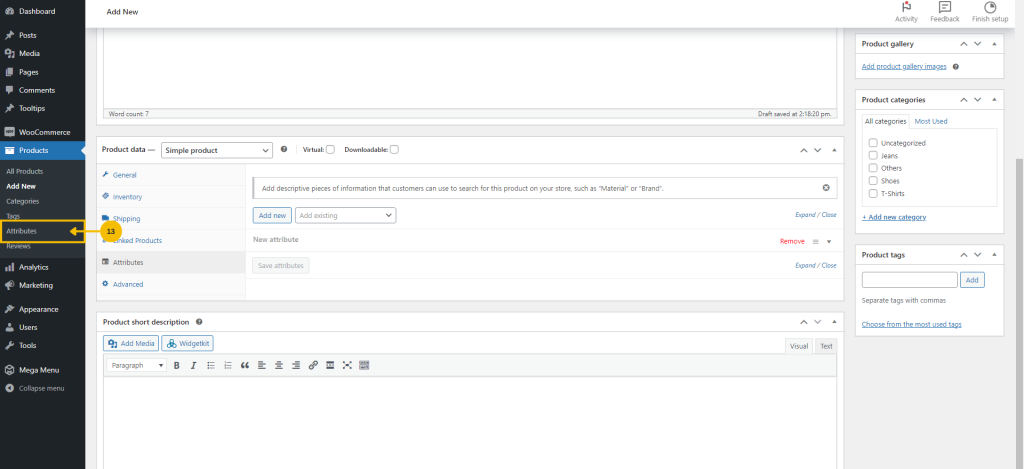
13. If you want to add attributes in your product, go to the menu bar and choose ‘Attributes’ under the product’s menu.
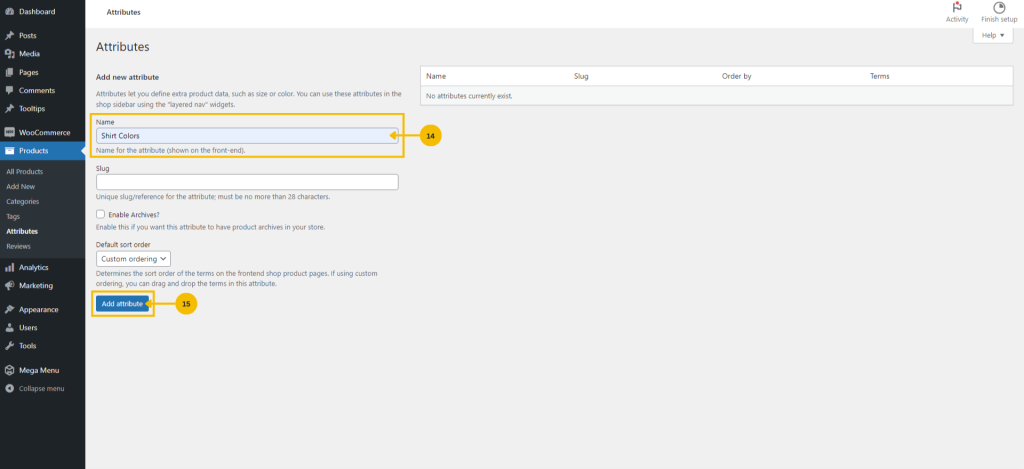
14. After selecting attributes, enter a name of your product’s attribute.
15. Click the ‘Add attribute’ button.
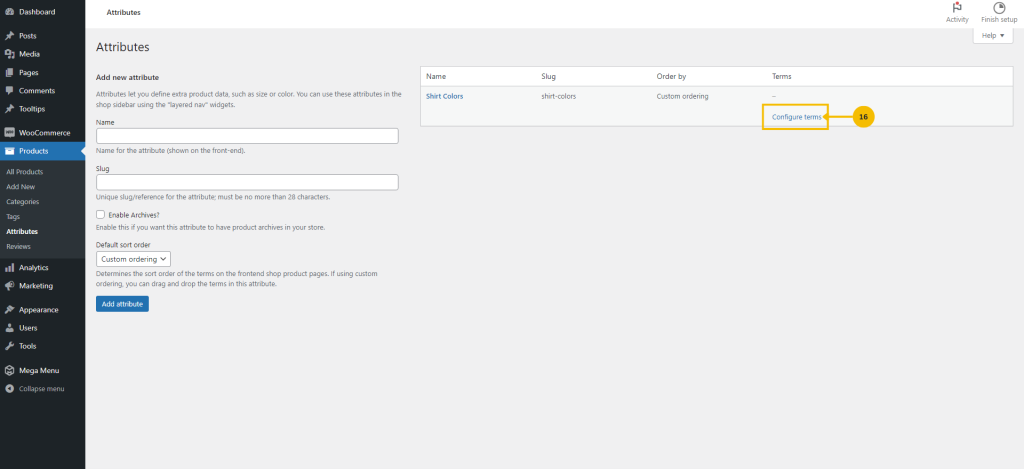
16. Click the ‘Configure terms’.
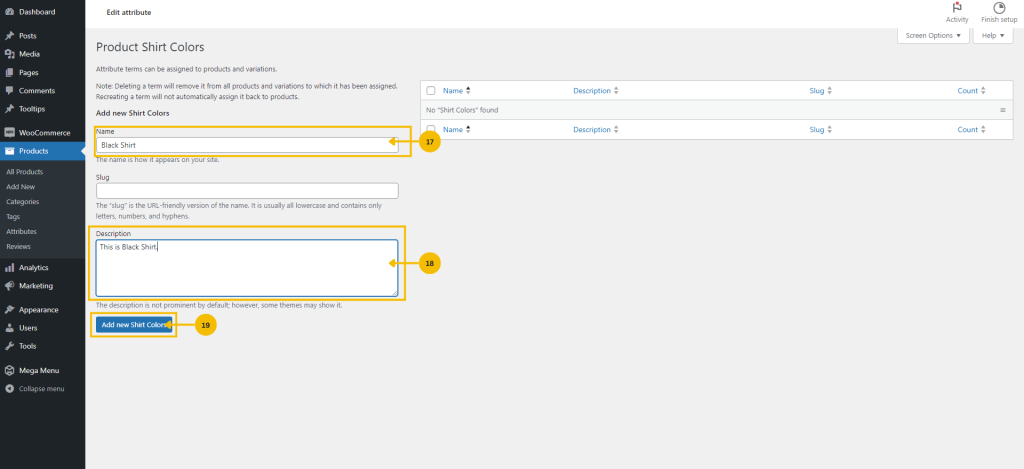
17. Enter a name for your attribute.
18. Provide a description for your attribute.
19. Select the ‘Add new shirt colors’ button (Note: the button’s name may vary depending on the created attribute’s name).
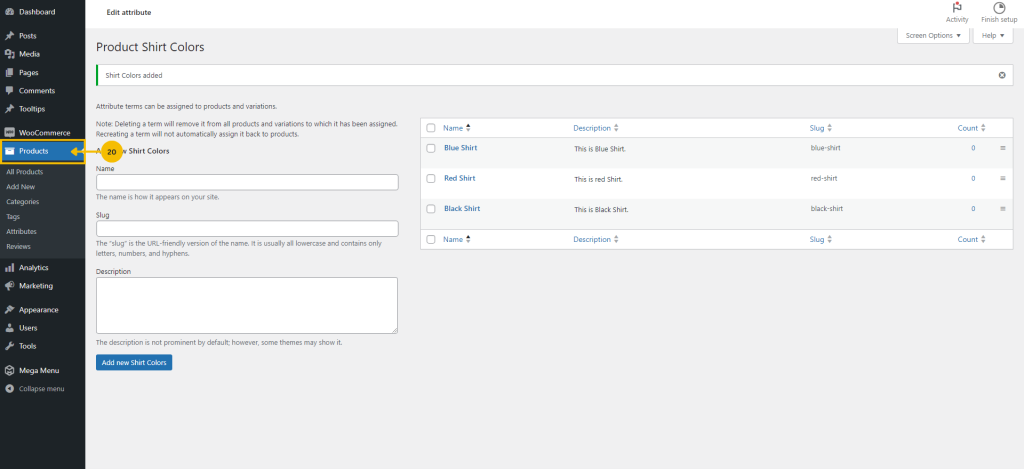
20. Once you’ve added your attributes, go back to the ‘Products’ menu.
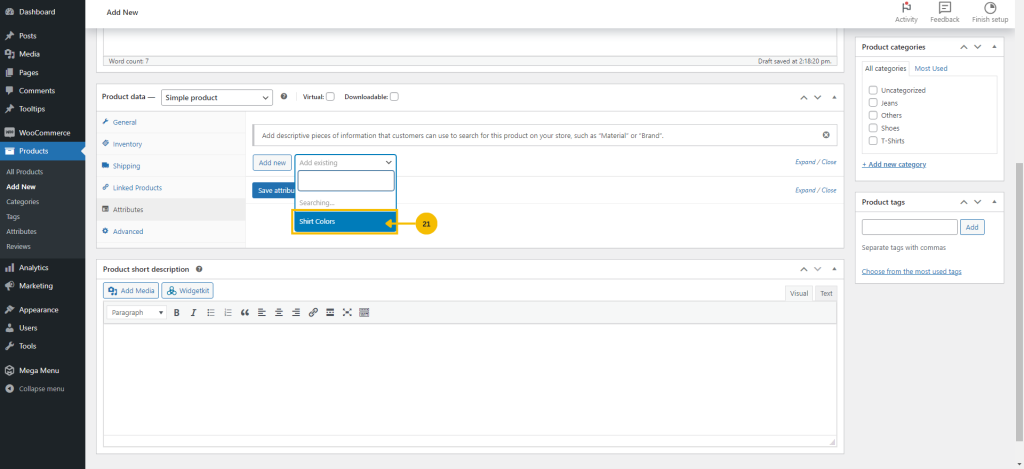
21. Choose the name of the attributes you’ve created.
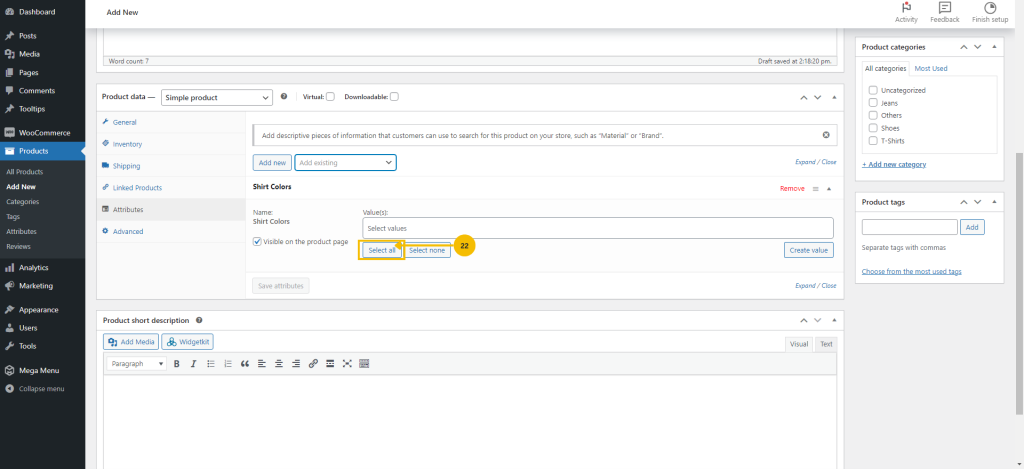
22. Click the ‘Select all’ button.
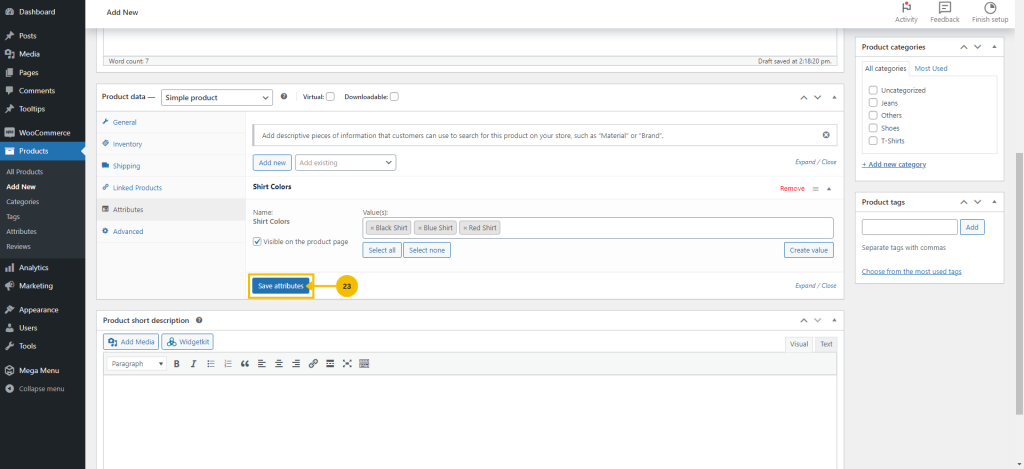
23. Once you have clicked the select all button, click the ‘Save attributes’.
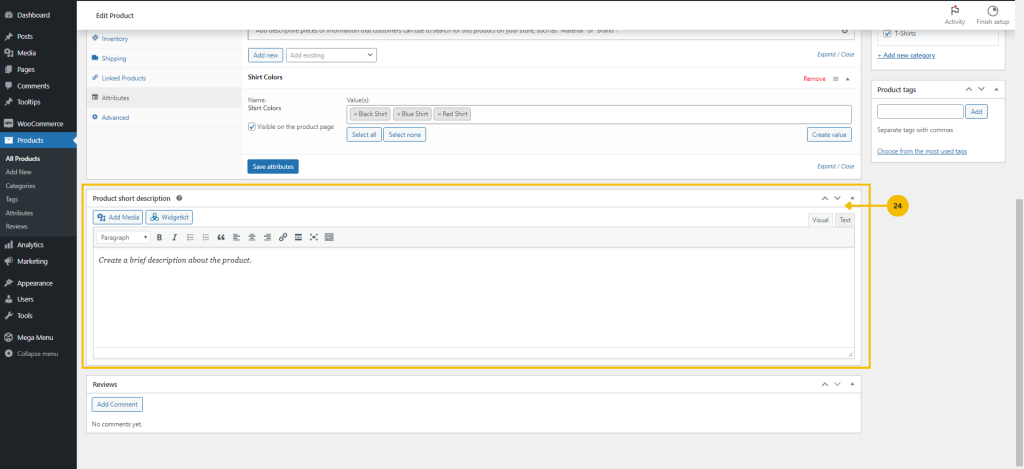
24. Create a brief and captivating overview of your product.
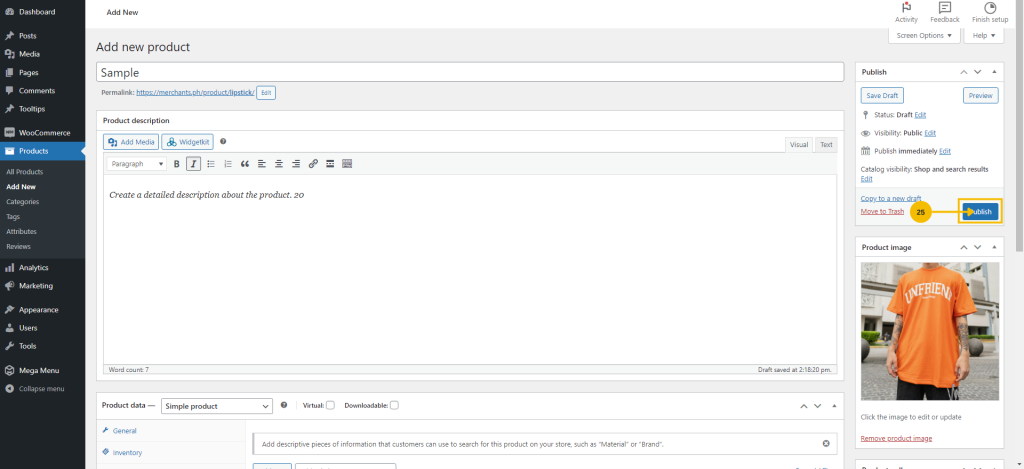
25. Once you’ve finished setting up your product, press the ‘Publish’ button.